Lead paint was commonly used in homes built before 1978, when it was banned in the United States due to its harmful effects on health, particularly in children, animals, and pregnant women. If you own an old home with lead paint, it is important to safely remove it to protect yourself and your family from lead poisoning.
Here are the steps we take to safely remove and encapsulate lead paint in an old home:
- Test for lead: The first step is to test for lead paint in your home. The Environmental Protection Agency (EPA) requires that lead testing be performed only by certified and trained professionals due to the hazardous material involved, even though you can purchase a DIY lead testing kit from a hardware store. If the test comes back positive, we share the results with the customer and document it per EPA regulations.
- Personal protective equipment (PPE): When removing lead paint, it is essential to protect yourself from exposure to lead particles. Our technicians wear a respirator mask, disposable coveralls, gloves, and goggles to protect their skin and eyes.
- Prepare the area: Before starting the removal process, we prepare the area. We cover the floors and furniture with plastic sheeting to protect them from lead dust. We also seal off the room with plastic sheeting to prevent the dust from spreading to other areas of your home.
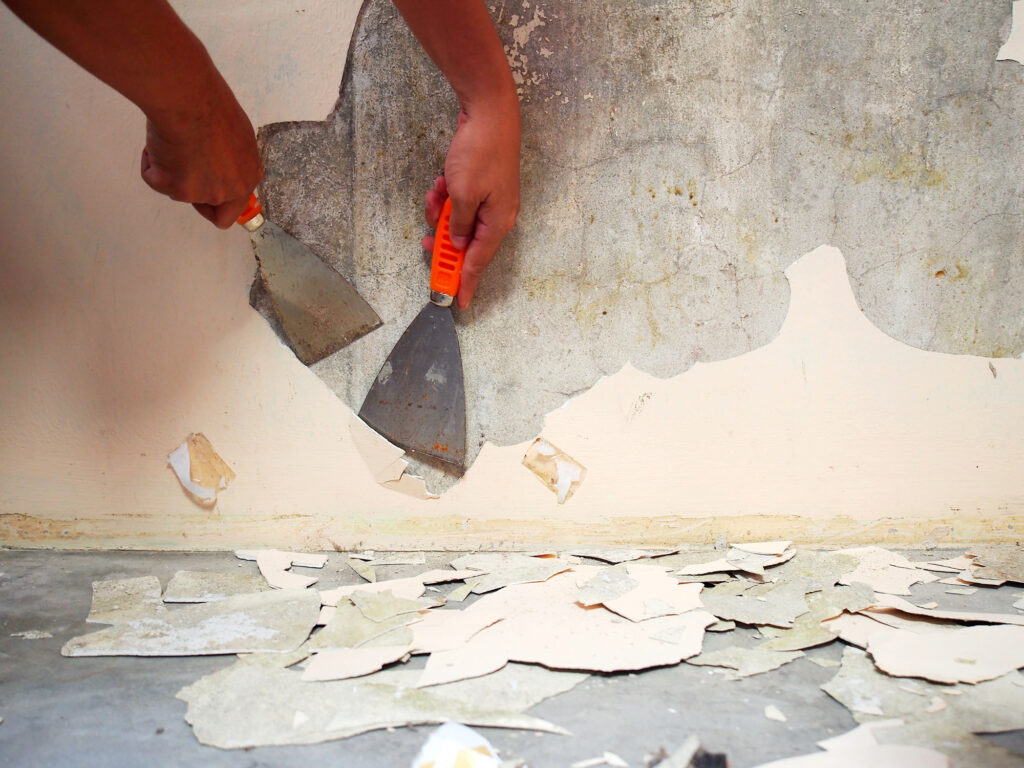
- Remove the paint: There are several methods for removing lead paint, including wet sanding, scraping, and chemical stripping. Sanding and scraping can create lead dust, so it is important to wet the area with a spray bottle to keep the dust from spreading. Chemical stripping is a safe option as it does not create lead dust, but it requires harsh chemicals, so it is essential to follow the manufacturer’s instructions carefully. Lead paint can also be safely removed by melting it with a torch or heat gun. Though this method provides the nicest surface for priming and re-painting, it is also labor-intensive and, therefore, expensive.
- Gather all lead chips: Lead chips can also pose a danger, especially if they are ingested by young children. The chips can easily come loose from the surface and be picked up and ingested by curious children, leading to lead poisoning. It is important to safely remove all lead paint chips, not just those that are airborne as dust. Lead dust, however, is particularly dangerous as it can easily be inhaled and ingested and can remain in the environment for a long time. Therefore, it is important to take all necessary precautions to prevent the spread of lead dust during the removal process.
- Dispose of the waste: It is important to properly dispose of the lead paint chips and debris. We double-bag the waste in heavy-duty plastic bags and seal them tightly. We then dispose of the waste safely per EPA guidelines.
- Clean up: After removing the lead paint, cleaning up the area thoroughly is important. We use a HEPA vacuum to clean up any dust or debris and then wipe down surfaces with a damp cloth. We dispose of the cloth and vacuum bag in the same manner as the paint chips.
- Follow-up: After removing the lead paint, it is important to follow up with a lead test to ensure all the lead has been removed. Again, we share the test results with our customers and document them per EPA guidelines.
In conclusion, removing lead paint from an old home can be a dangerous and complex process. We take all the necessary precautions to protect your family and pets from lead poisoning. This is not something to tackle yourself. The EPA always recommends to hire a certified professional to do the job.
My Three Sons Professional Painting & Remodeling is certified by the EPA to remove lead paint safely and dispose of it properly. We are your lead paint removal specialists in Lexington. Please give is a call to take a look at your project at 859-321-7344
To read another article about The Essentials of Exterior Lead Paint Renovation, Repair, and Painting, click here.