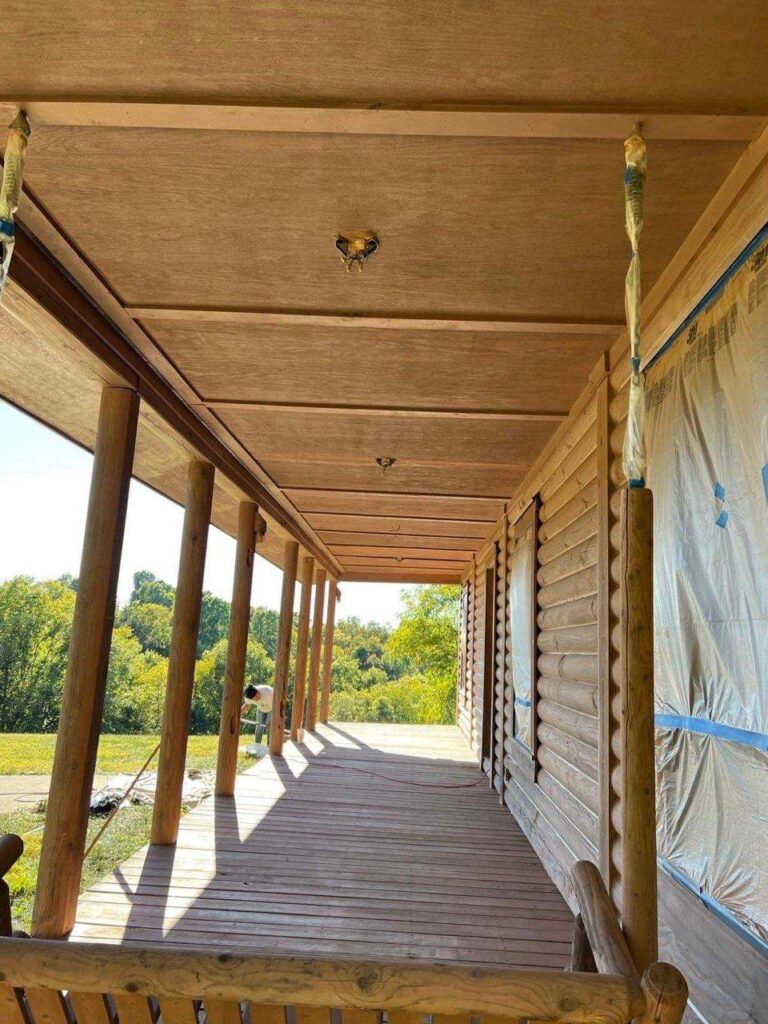
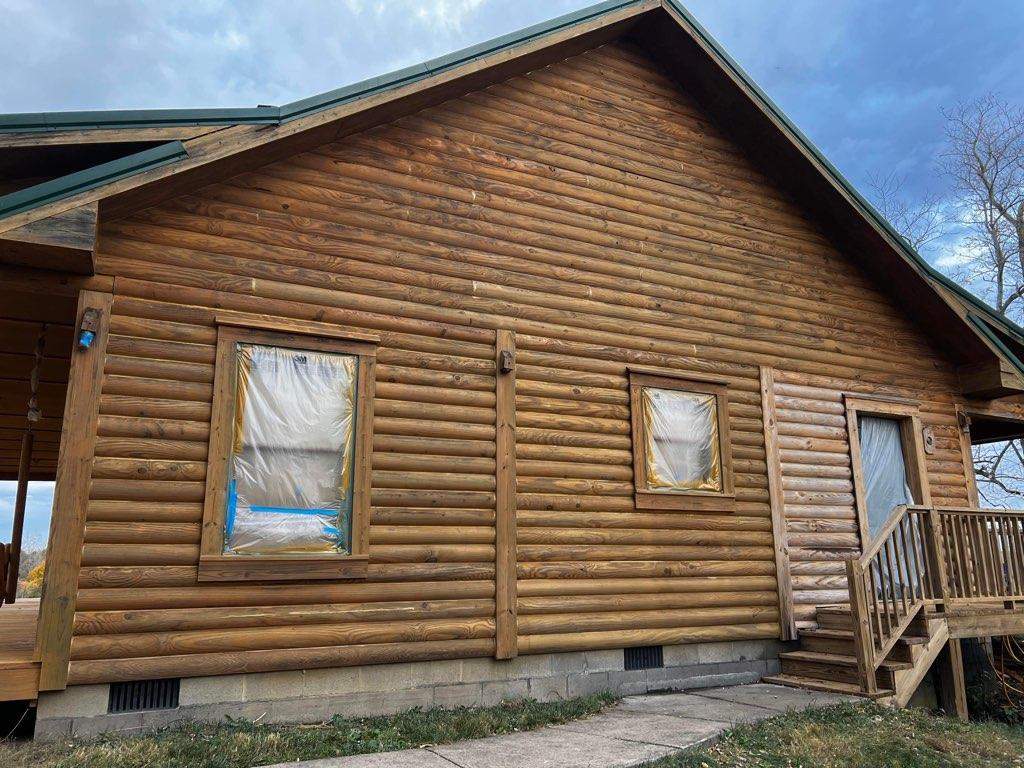
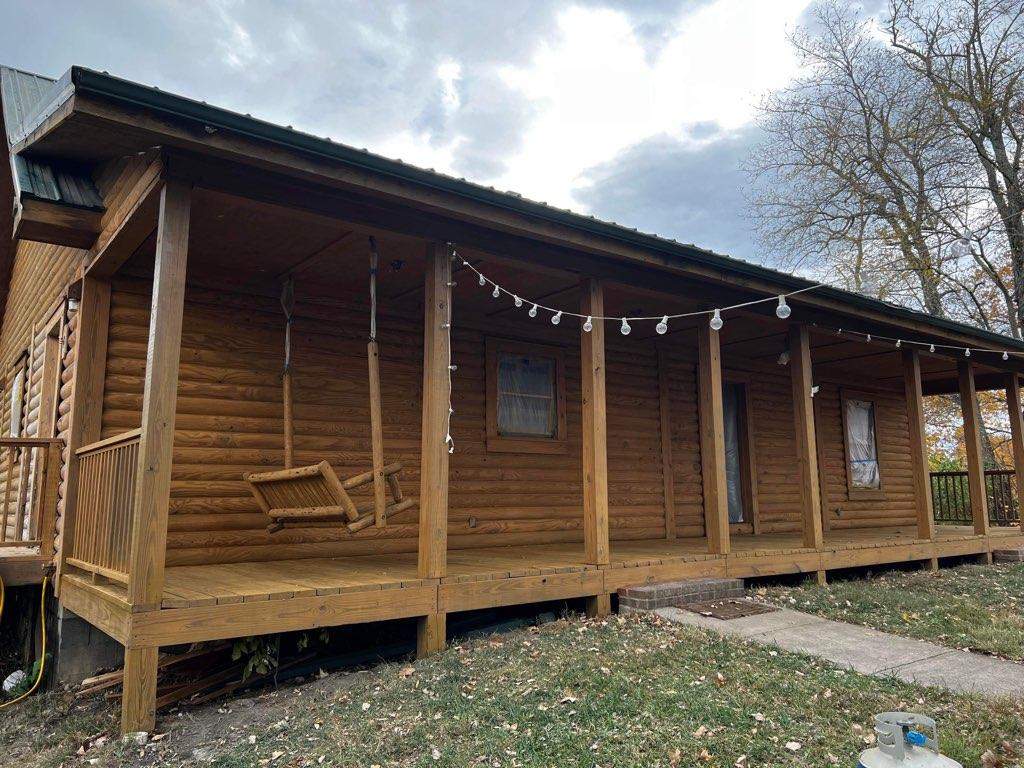
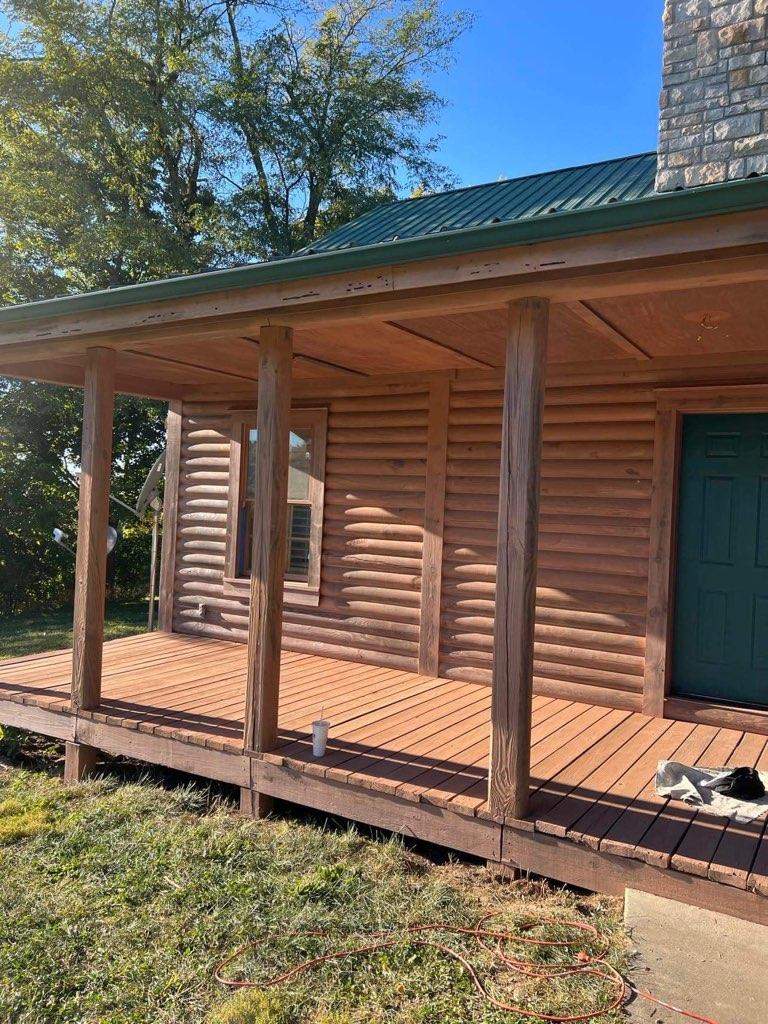
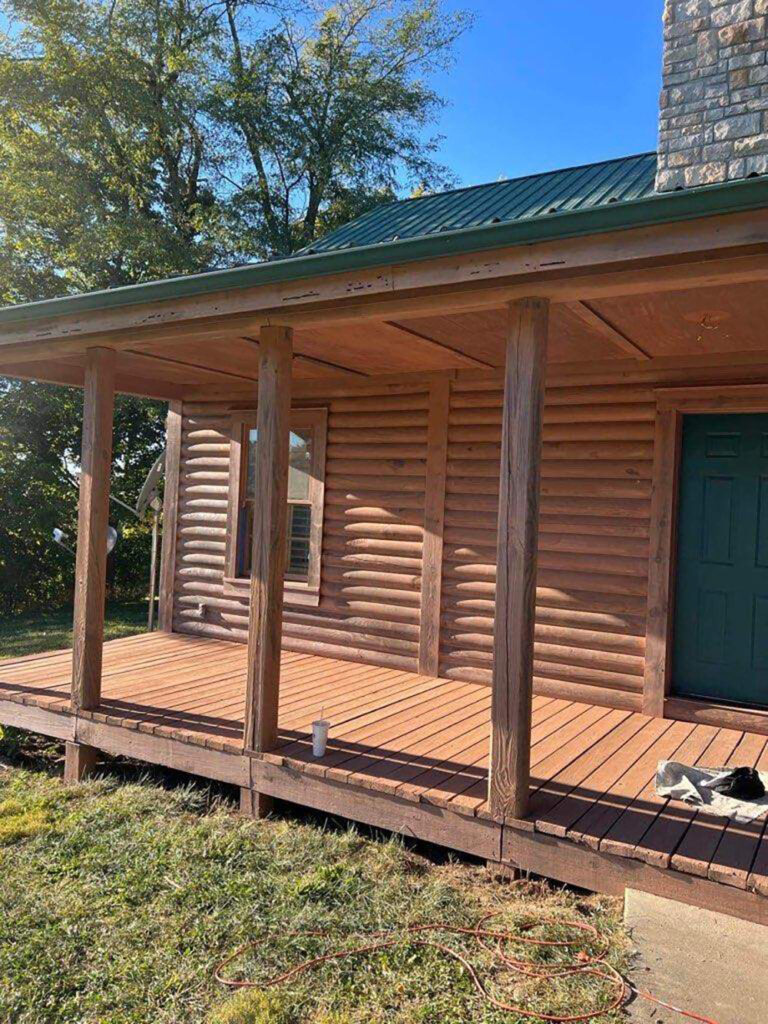
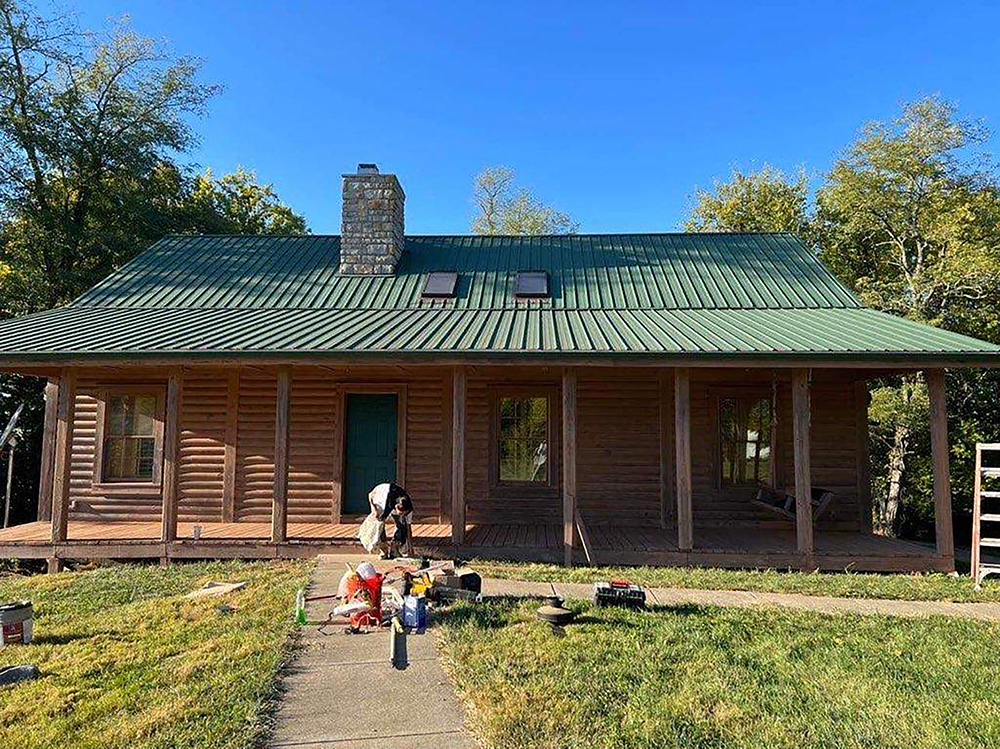
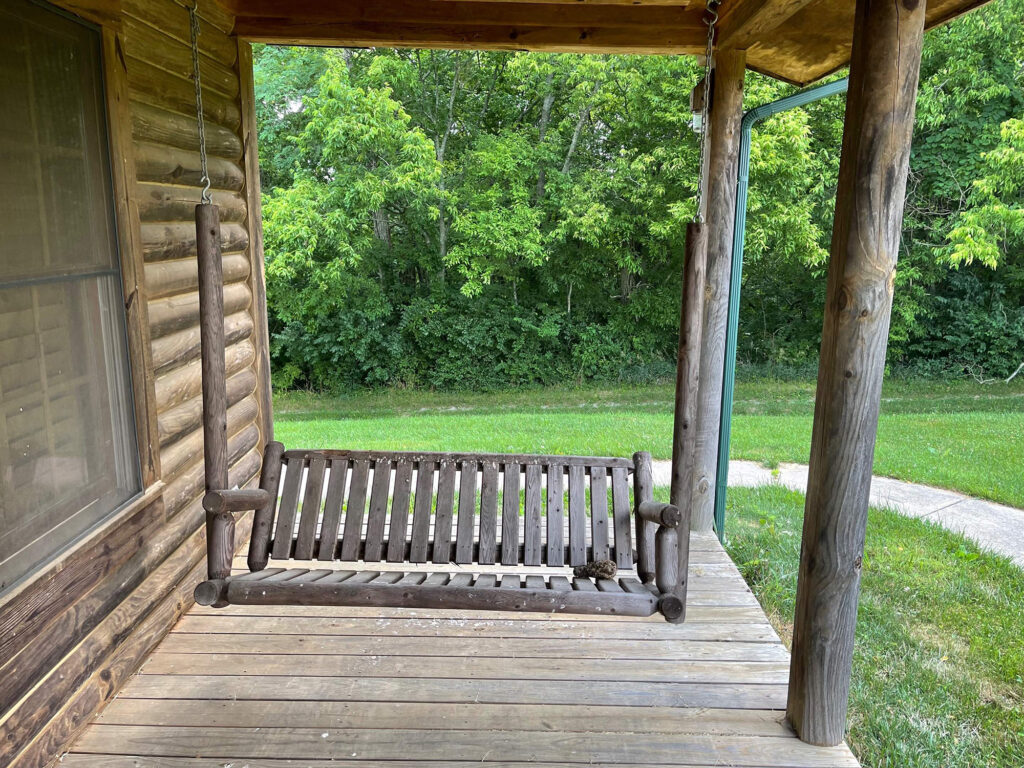
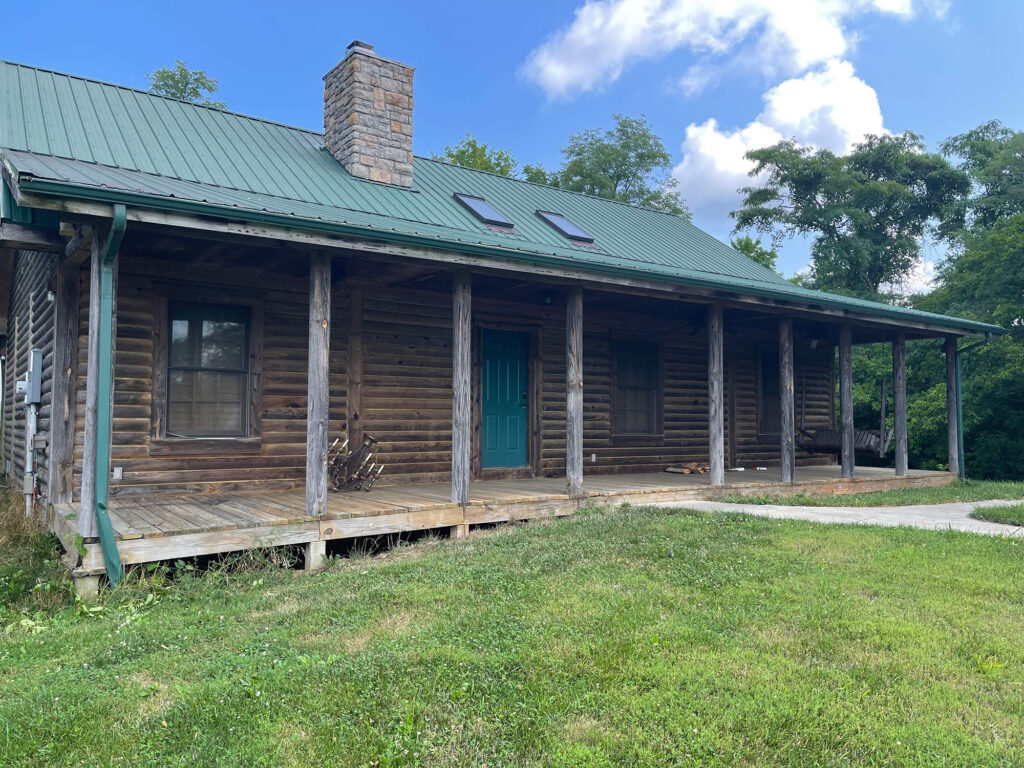
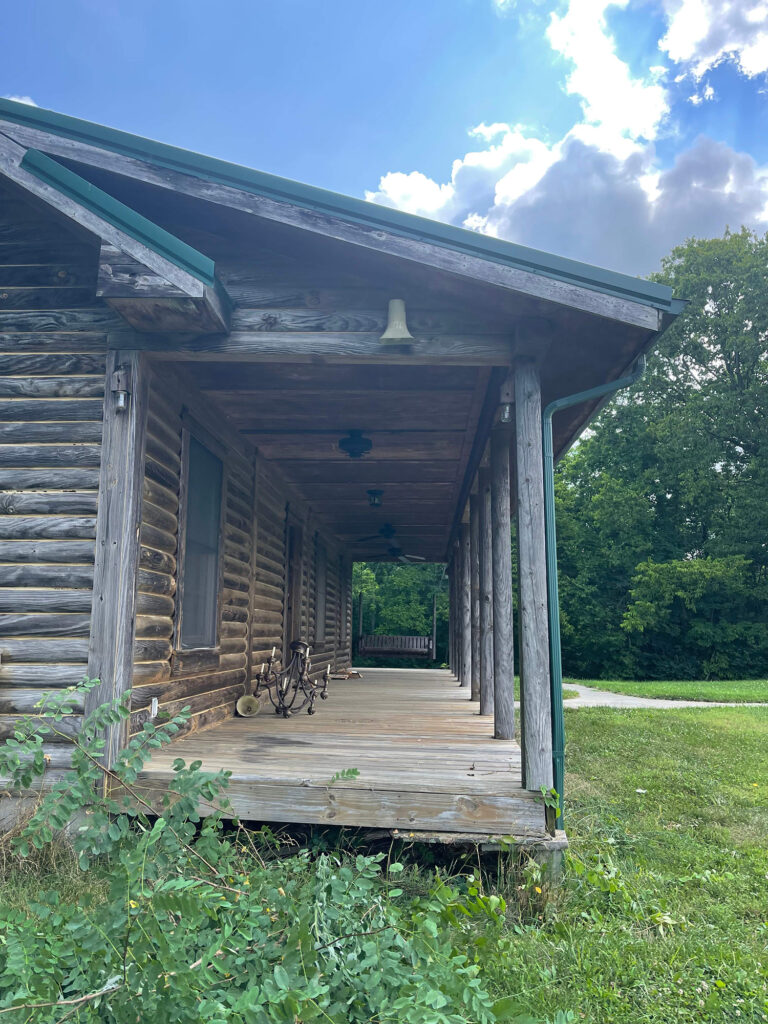
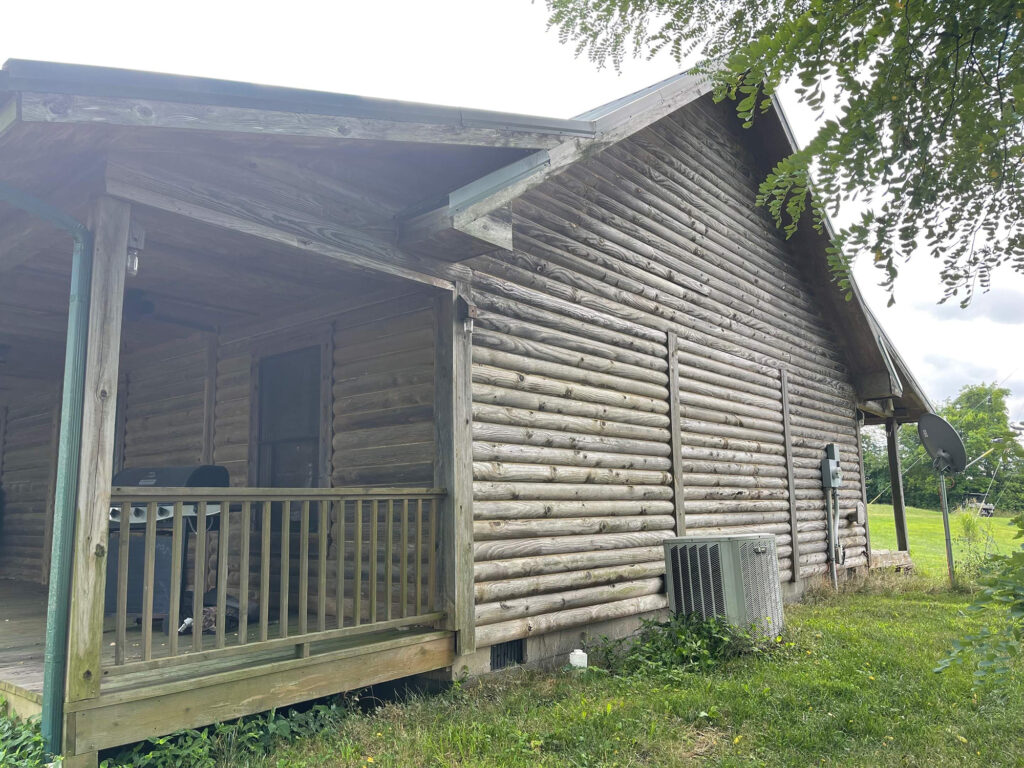
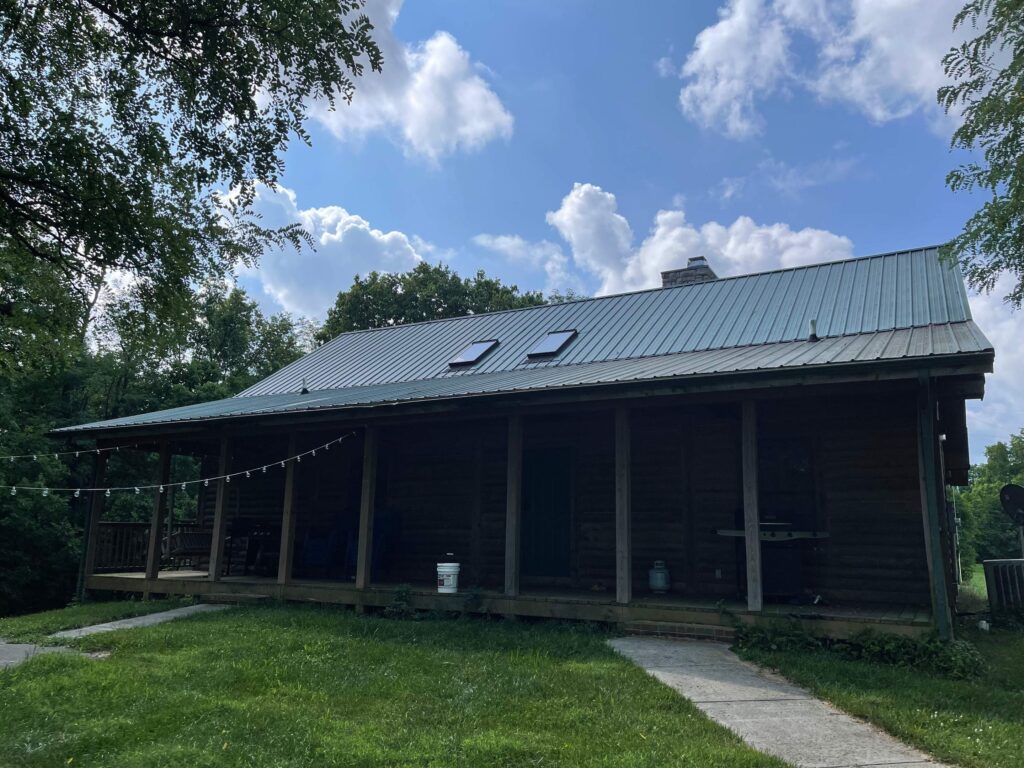
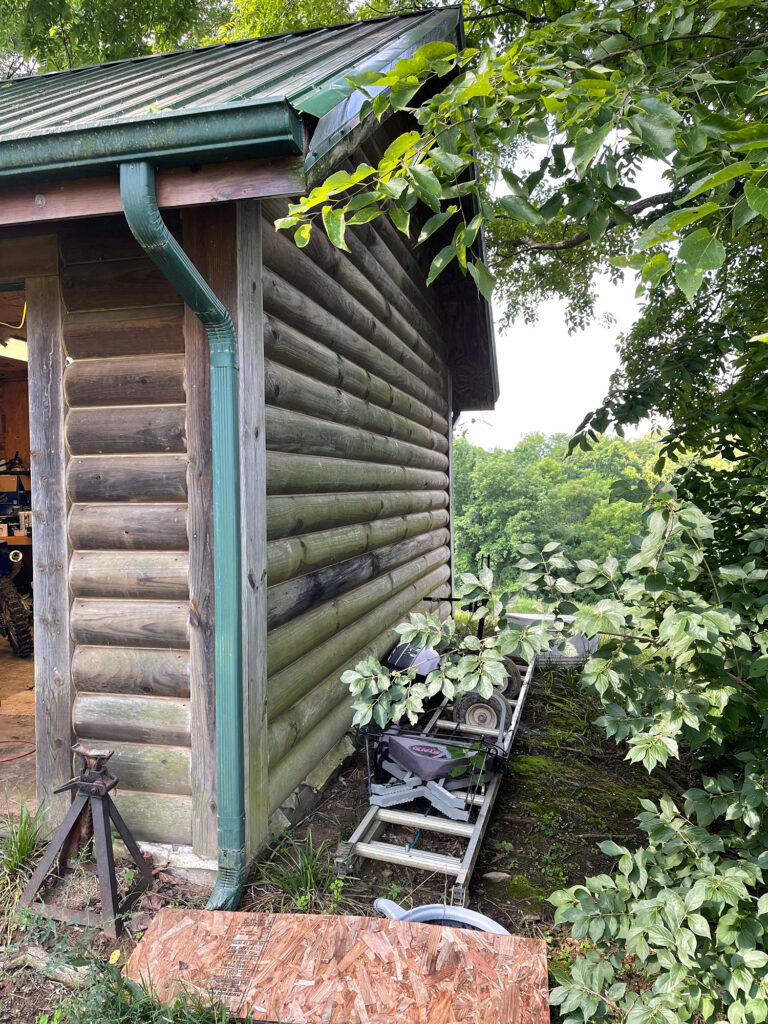
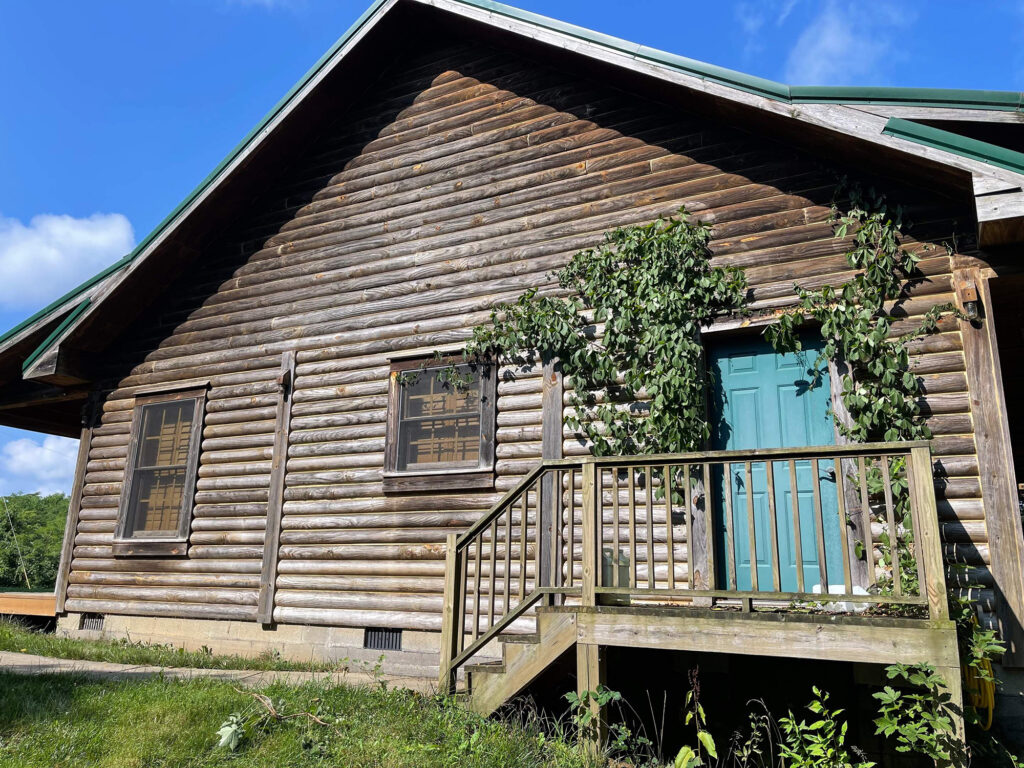
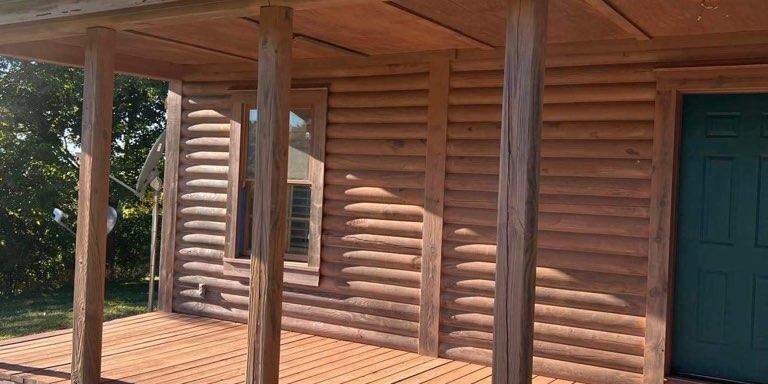
Log homes and cabins are popular for their rustic charm and natural beauty. However, over time, the logs tend to lose their luster and become dull due to exposure to sunlight, rain, and other environmental factors. Staining a log home or cabin can restore its beauty and protect the logs from further damage. In this blog post, I will describe how we stain a log home or cabin to ensure a beautiful and long-lasting finish.
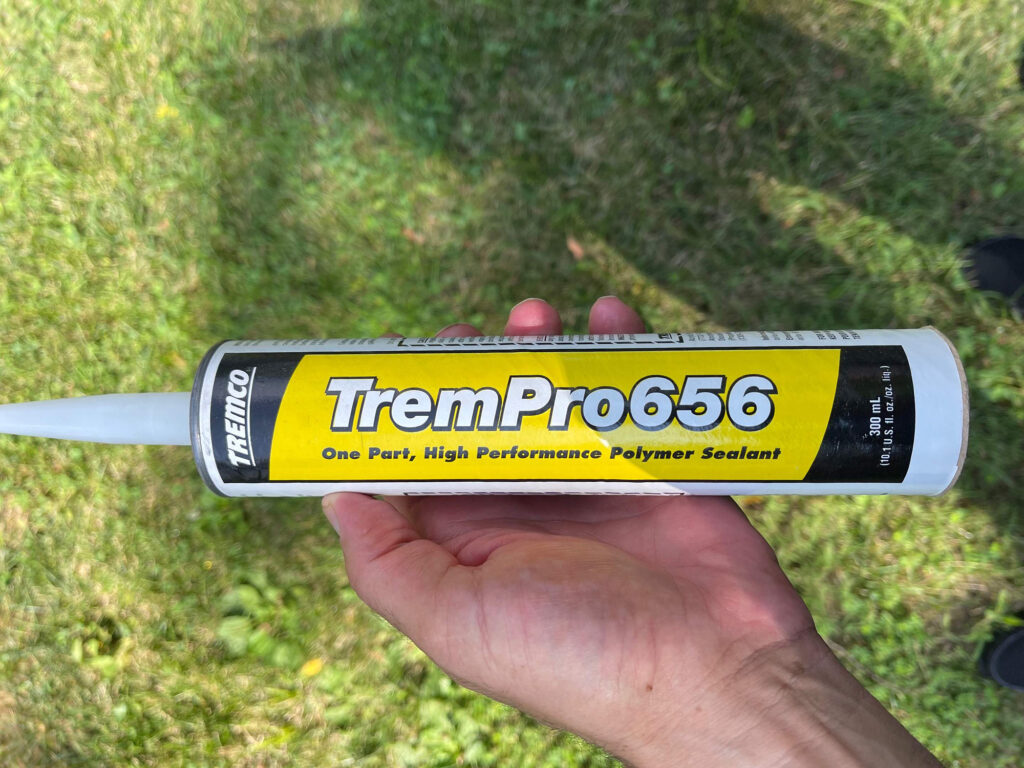
Step 1: Clean the Logs and Other Wood Surfaces
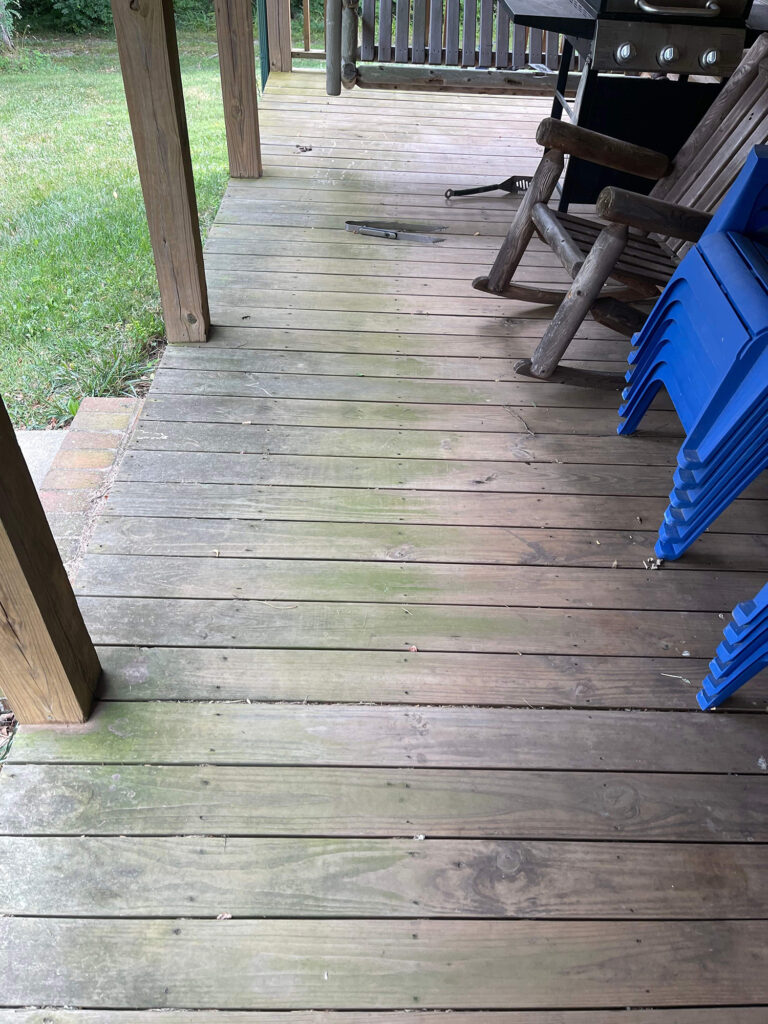
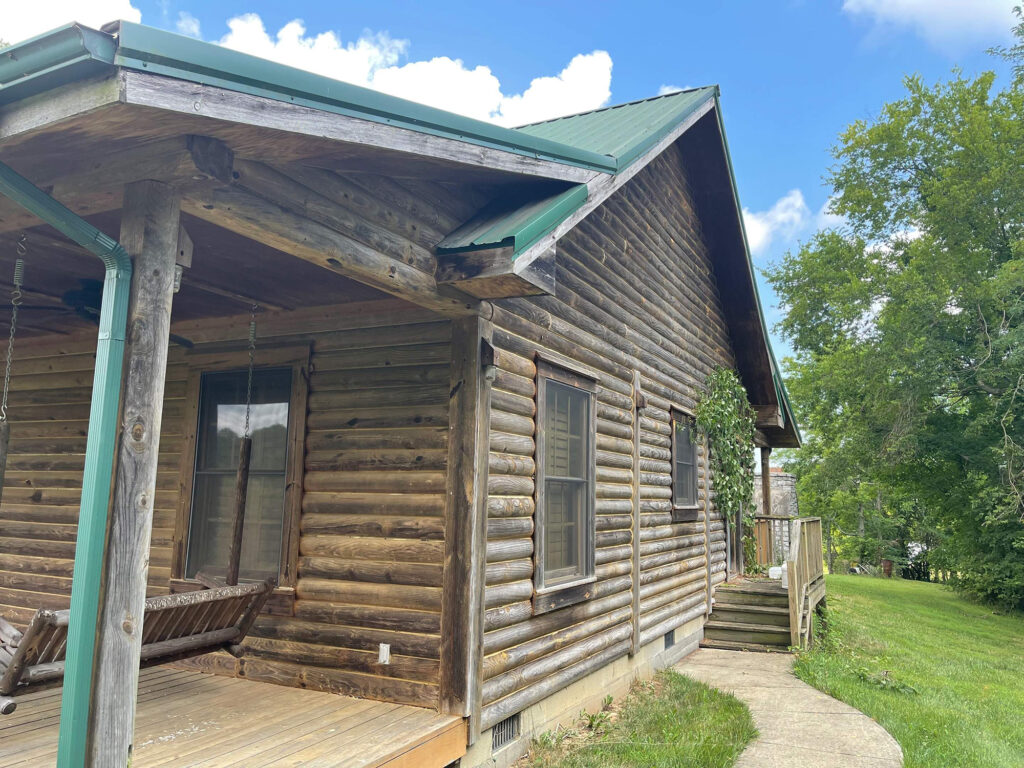
Before staining, it is essential to clean the logs thoroughly. Dirt, dust, and debris can prevent the new stain from penetrating to the logs properly. We use a pressure washer and cleaning additive to wash away the dirt and debris, and to clean and neutralize any algae that has grown over time on the surface of the logs. If there are stains on the logs that won’t come off with water alone, we use a log cleaner specifically designed for this purpose. These cleaners are available at most hardware or home improvement stores. Follow the manufacturer’s instructions for best results. If there is previous stain on the wood, particularly if the previous stain is an oil base, we use a product made by Sherwin Williams called Stain & Sealer Remover. Be careful with this product, it is a stain/sealer stripper and can be harmful to your skin and eyes. But it is very effective in taking the previous stain/sealer off the wood.
Step 2: Apply a Product Called “Revive”
After the logs are dry, we use another Sherwin Williams product called Revive. It is designed to neutralize the toxic Stain & Sealer Remover and to ready the wood surfaces to absorb the stain.
Step 3: Apply the Stain
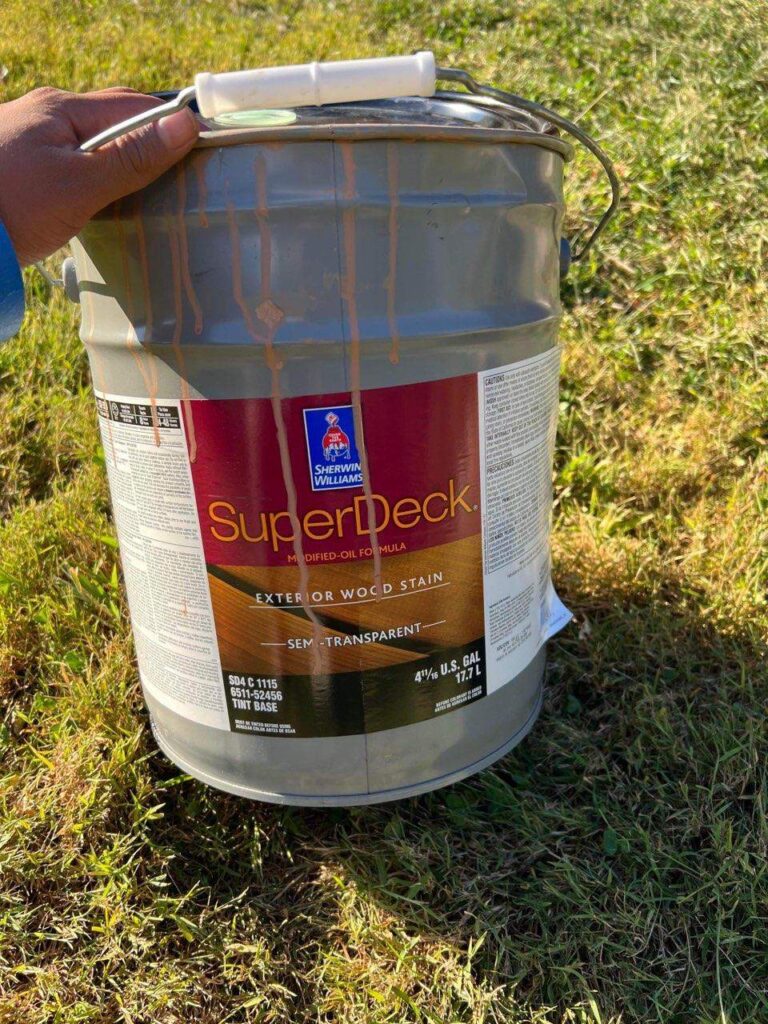
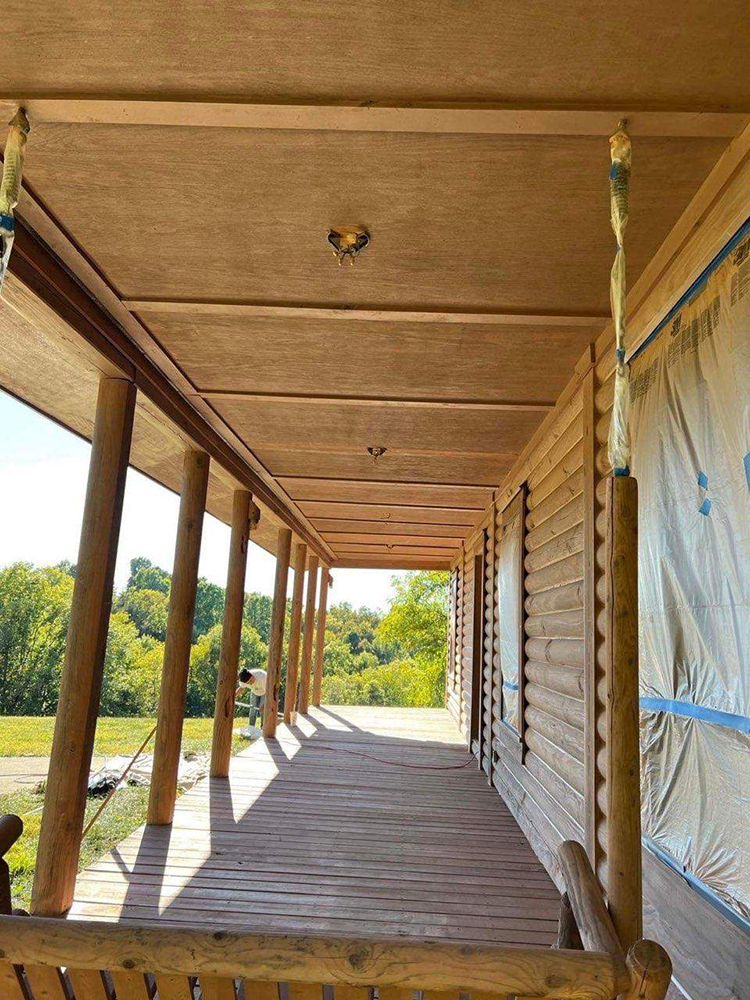
Choose a high-quality stain designed for log homes or cabins. We love to use the Sherwin Williams product Superdeck Oil Stain. There are two types of stains available: water-based and oil-based. Water-based stains are easier to clean up and dry more quickly than oil-based stains. However, oil-based stains tend to be more durable and long-lasting. That’s why we recommend an oil stain. Whichever type you choose, be sure to follow the manufacturer’s instructions for application and clean up.
Using a brush, roller, or sprayer, apply the stain in even strokes, working from the top of the logs to the bottom. Be sure to apply enough stain to saturate the wood but not so much that it forms a thick layer on the surface or drips. If you do notice any drips or runs, use a clean cloth to wipe them away.
Step 4: Allow the Stain to Dry
After applying the stain, allow it to dry completely before applying a second coat (only if the stain is water-based). The drying time will depend on the type of stain and the weather conditions. Generally, water-based stains will dry within a few hours, while oil-based stains can take up to 24 hours.
Step 5: Apply a Second Coat (Water-Based Only)
If desired, apply a second coat of water based stain for a deeper, richer color. Be sure to follow the manufacturer’s instructions for application and drying times. Oil-based stains are a one-coat application because the oil will repel the second coat whereas with water-based stains, the second coat can still absorb.
Staining a log home or cabin is a relatively easy process that can make a big difference in the appearance and longevity of the logs. By following these steps, you can achieve a beautiful, long-lasting finish that will protect your home or cabin for years to come.
My Three Sons Professional Painting & Remodeling Services is your log cabin staining specialist in Lexington. Give us a call to assist you when your log home needs a fresh coat of stain at 859-321-7344
