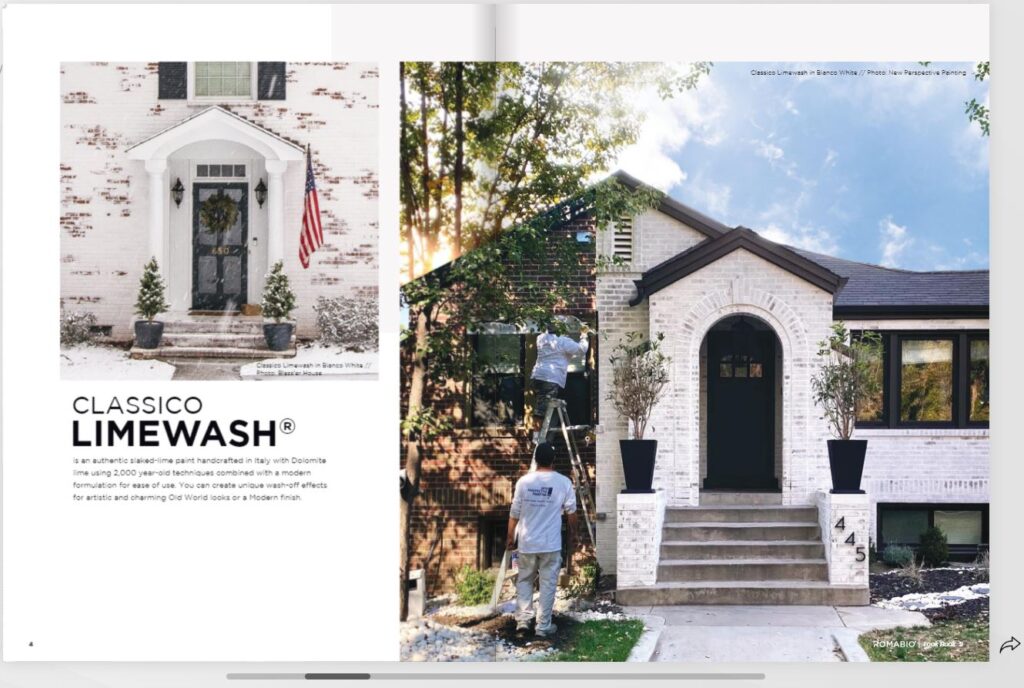
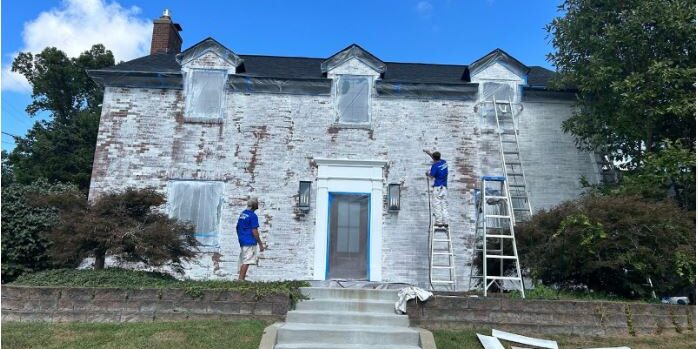
I’m thrilled to walk you through the step-by-step process of how we, at My Three Sons Professional Painting Services, lime wash exterior brick homes to give them a fresh and timeless look. In this article, we’ll be using pictures to illustrate the points from a project we just finished for Tracy Frye and Stephen McGinnis in Ashland, KY.
Tracy and Stephen were selected as our Customers of the Month in September 2023. Tracy reached out to us in need of finding someone to do lime wash on the exterior of their home with a very particular look in mind. We, of course, were thrilled to help. Tracy sent pictures of her home and pictures of her inspiration – what she wanted her home to look like once updated with lime wash. During the estimate appointment, she was very thorough with what she was looking for but also very open to the suggestions our Project Consultants offered. Tracy was incredibly sweet, very open with her communication, and easy to work with throughout the entire project. Our Project Consultants raved about her modern but classic taste. She was determined to find the best lime wash painters to make her vision come to life and her determination and openness lead to a beautiful outcome!
Lime washing is an eco-friendly and aesthetically pleasing method of treating bricks that not only enhances the appearance of your brickwork but also provides protection from the elements.
Materials We Use:
- RomaBio Mineral Paints: RomaBio sources high-quality lime from their trusted supplier to ensure the best results.
- Water: Essential for mixing with the lime concentrate.
- Natural Pigments (optional): If you desire a tinted finish, RomaBio offers natural pigments like ochre, sienna, or umber. With RomaBio, we can actually order the lime paint already colored to a variety of white and off white pre-mixed colors you can explore on their website: https://romabio.com/color-options/.
- Bucket or Mixing Tub: To prepare and mix the lime wash.
- Stirring Stick: Ensures thorough mixing of the lime putty and water.
- Wire Brush: Essential for cleaning the brick surface.
- Drop Cloths or Plastic Sheeting: These protect the ground and nearby surfaces from any potential drips or splatters.
- Spray Bottle or Water Hose: Used to keep the brick surface moist during the application and for washing off portions of the lime wash once applied to expose portions of the bricks.
- Paintbrush: Perfect for cutting in around edges and corners.
- Masonry Brush or Roller: This is our primary tool for applying the lime wash to the brick in hard to reach places, or areas which we cannot easily spray the product on to the bricks.
- Sprayer: We spray the lime wash onto the main areas of the brick to create a thick and even look before washing portions off with a water hose.
- Gloves and Safety Glasses: for safety, protecting our team members from lime burns and splashes.
Step 1: Brick Surface Preparation
Before we start, we meticulously prepare the brick surface. We use wire brushes to remove any loose mortar or dirt. If mildew or algae is present, we wash the surface with a mixture of water and mild detergent, ensuring a thorough rinse. It’s crucial to allow the bricks to dry completely before proceeding.
Step 2: Mixing the Lime Wash
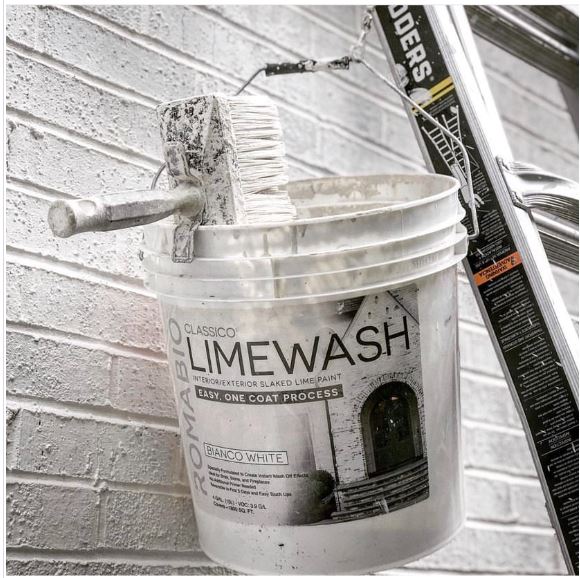
In a large mixing tub, we combine the RomaBio lime concentrate and water. The exact ratio varies depending on the type of coverage our customer wants, following the manufacturer’s instructions. Typically, we aim for a creamy consistency akin to pancake batter.
Step 3: Surface Protection
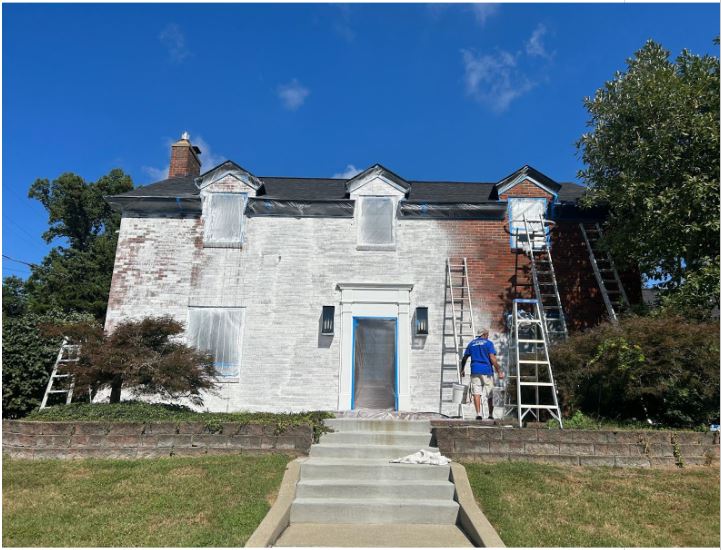
We’re diligent about protecting our customer’s property during the process. Drop cloths or plastic sheeting are laid out to safeguard the ground and surrounding surfaces, ensuring that no drips or splatters cause damage or staining. We also cover windows and other surfaces where we do not want overspray from the lime wash.
Step 4: Moistening the Brick Surface
Using spray bottles or a water hose and nozzle (depending on the size of the area we are lime washing), we dampen the brick surface and make sure to keep it wet while we are applying the lime wash to the work area. This helps the lime wash adhere better and prevents the bricks from absorbing too much of the mixture too quickly, especially when it is hot outside. Mineral paint should never be applied to a dry, hot surface, so take extra precautions during the summer months to maintain a constant wet and cool surface by spraying water on the bricks as you go.
Step 5: Cutting In Around Edges
We start by carefully cutting in around the edges and corners of the brick surface using paint brushes. This meticulous approach ensures complete coverage, even in hard-to-reach areas.
Step 6: Applying the Lime Wash
Our primary tool for applying lime wash is a large 4” masonry brush or roller in harder to reach areas where it will not be easy to spray. We begin by working in small sections, applying the lime wash in even, overlapping strokes. This prevents the mixture from drying too quickly and ensures a uniform finish. We then spray the lime wash onto the main areas of the brick exterior to create a thick and even coverage area before we begin the process of spraying off portions of the lime wash to expose areas of the brick.
We apply masonry paint the same way but it is a two-coat application to create a solid color look. With masonry paint, we do not remove any after it is applied.
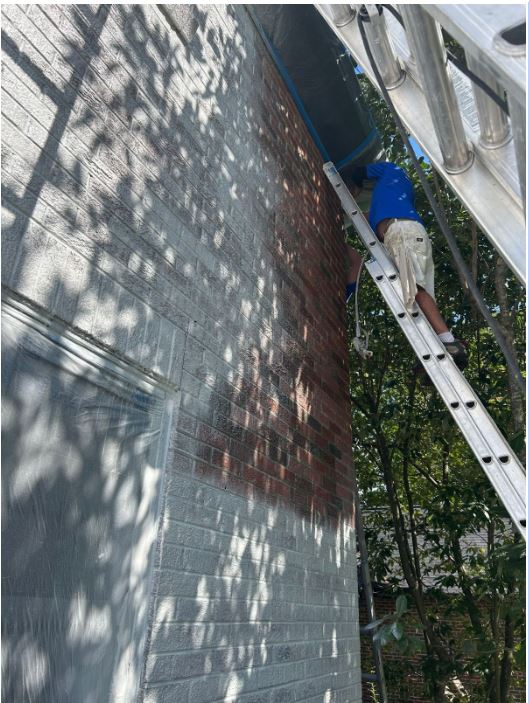
Step 7: Layering for Authenticity
We apply the lime wash in thin layers for even coverage. This technique creates an authentic and weathered appearance once we wash off sections after the lime wash has begun to dry.
Step 8: Washing off Sections of the Lime Wash
This is the essential process that creates the desired look and finish of lime wash called Patina, exposing portions of the brick through the lime wash. We create this artistic, antiquing look using a sprayer nozzle and water hose or, at times, even a pressure washer, depending on how much lime wash material our customer wants taken off (that is, how much brick they want exposed). For lime wash, spray off sections according to the customer’s desired pattern and instructions within 4 hours of application. If you take off too much, you can always apply more lime wash and start again. Remember, lime wash is only a one-coat application.
For masonry paint, do not remove any mineral paint. It is a two-coat, solid application.
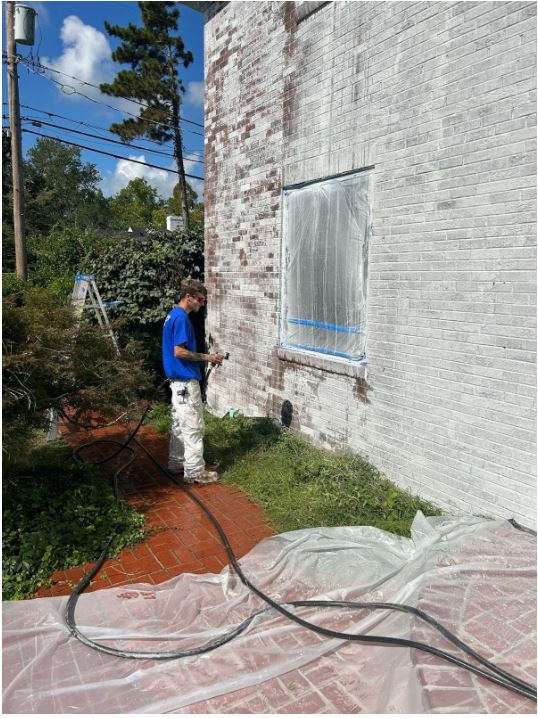
Step 9: Mineral Guard
This is an optional step some of our customers choose as a way of protecting the lime finish. We apply a RomaBio product called Mineral Guard by sprayer usually to the bottom two feet of the home at ground level. This protects the lime finish from dirt or mud splashing up onto the lime wash at the lower ground level of the home and staining the lime finish. The Mineral Guard allows the customer to wash off the dirt after a rain to clean the finish and protect it from dirt or mud stains.
Some customers choose to have us apply the Mineral Guard to the entire surface of the home, covering and protecting the lime finish everywhere.
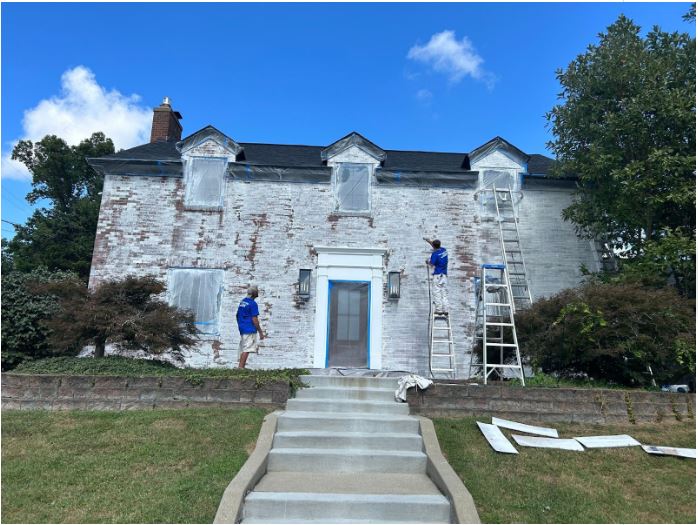
Step 10 Clean Up
Once the job is complete, we ensure our tools and brushes are thoroughly cleaned with water. We dispose of any remaining lime wash that we do not leave with the customer according to local regulations, as it’s considered a hazardous material.
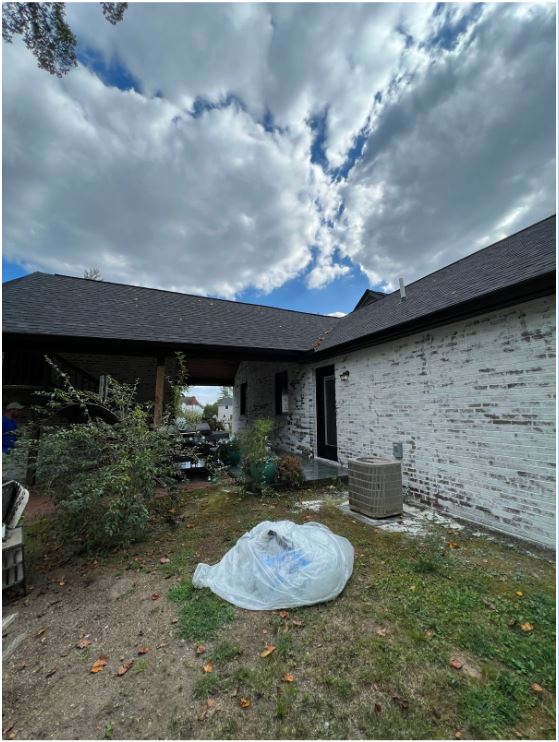
Step 11: Maintenance
Lime wash is a natural finish that will evolve (continue to patina) over time. To maintain its appearance, periodic reapplication of a thin coat may be desired. Our customers can give us a call to return for this additional application when needed.
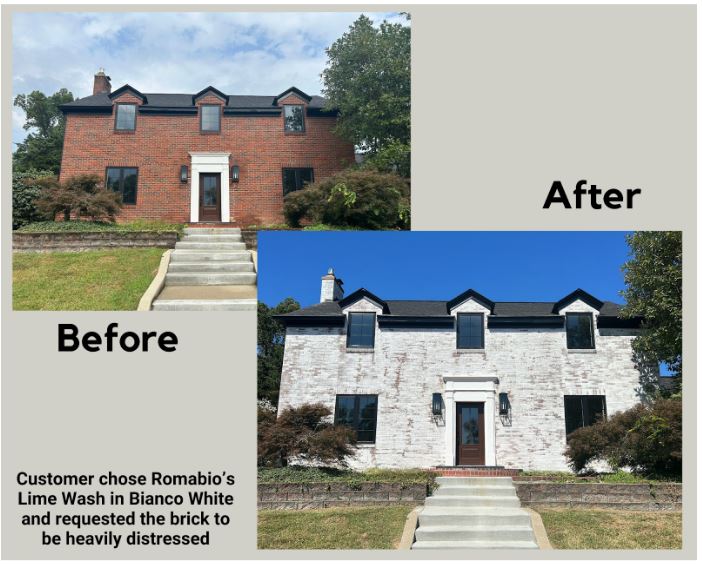
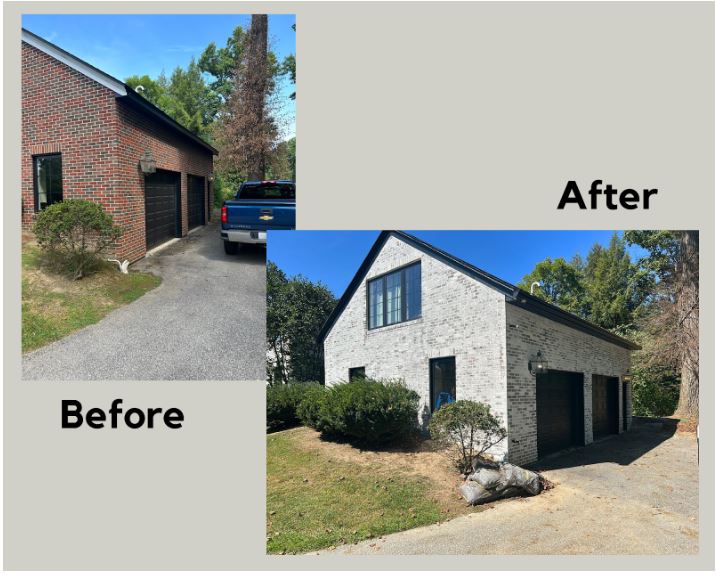
At My Three Sons Professional Painting Services, we take pride in lime washing exterior brick homes to bring out their timeless beauty. Our dedication to quality materials and meticulous application ensures that your home will stand out and be protected for years to come. If you’re looking for a professional painting company to transform the look of your brick home, don’t hesitate to contact us for a free consultation at 859-321-7344. We are the only professional residential painting company listed on the RomaBio website as the recommended lime wash experts in the Lexington area. We’d be delighted to help you achieve the stunning finish you desire.
