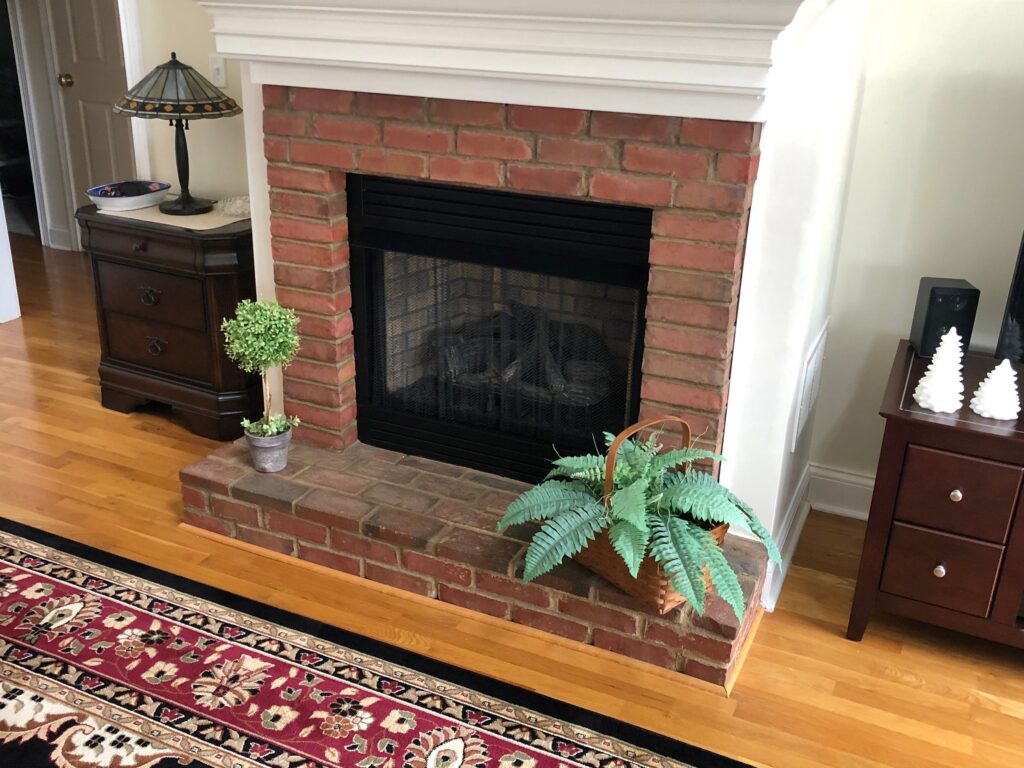
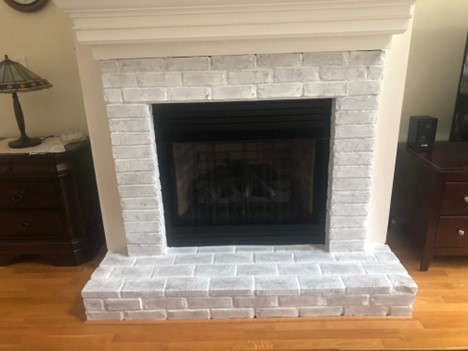
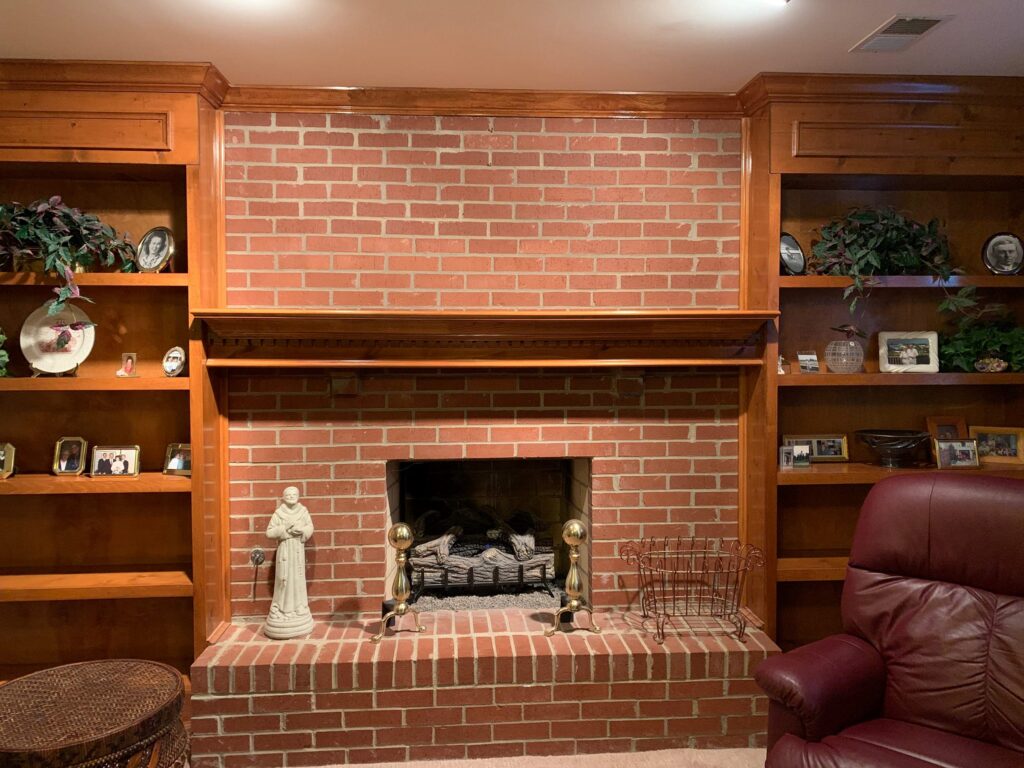
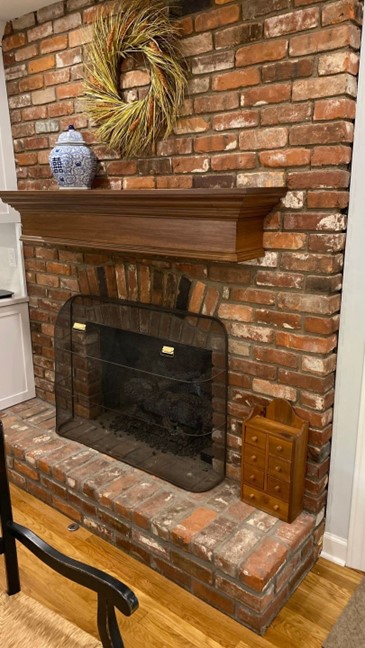
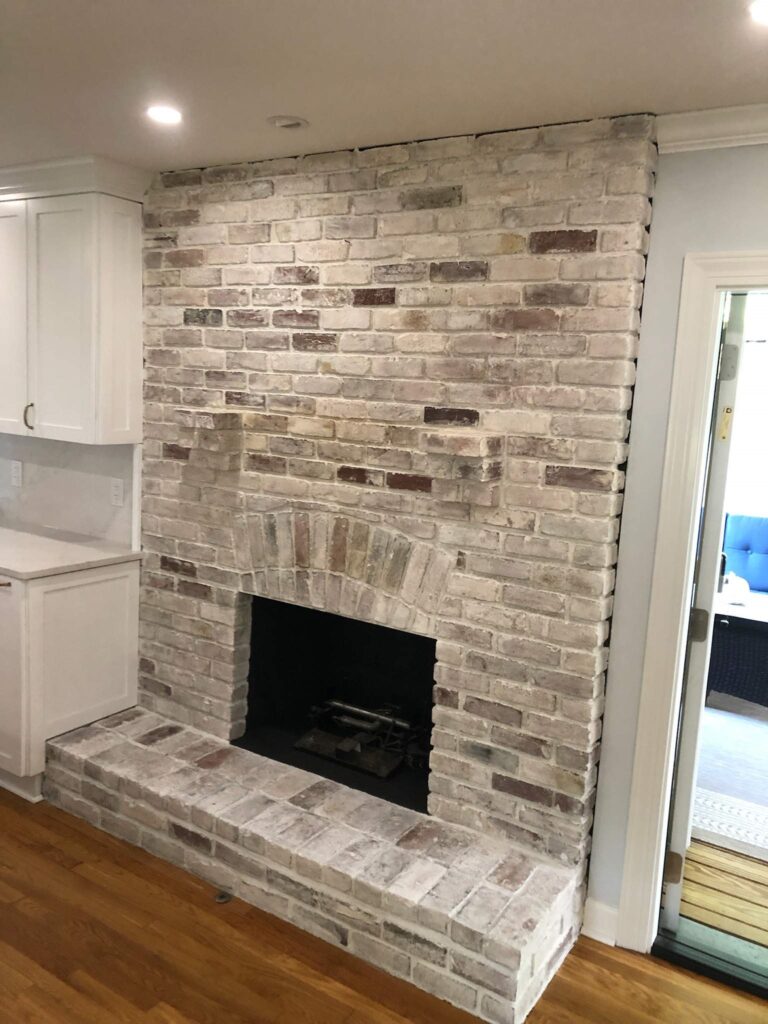
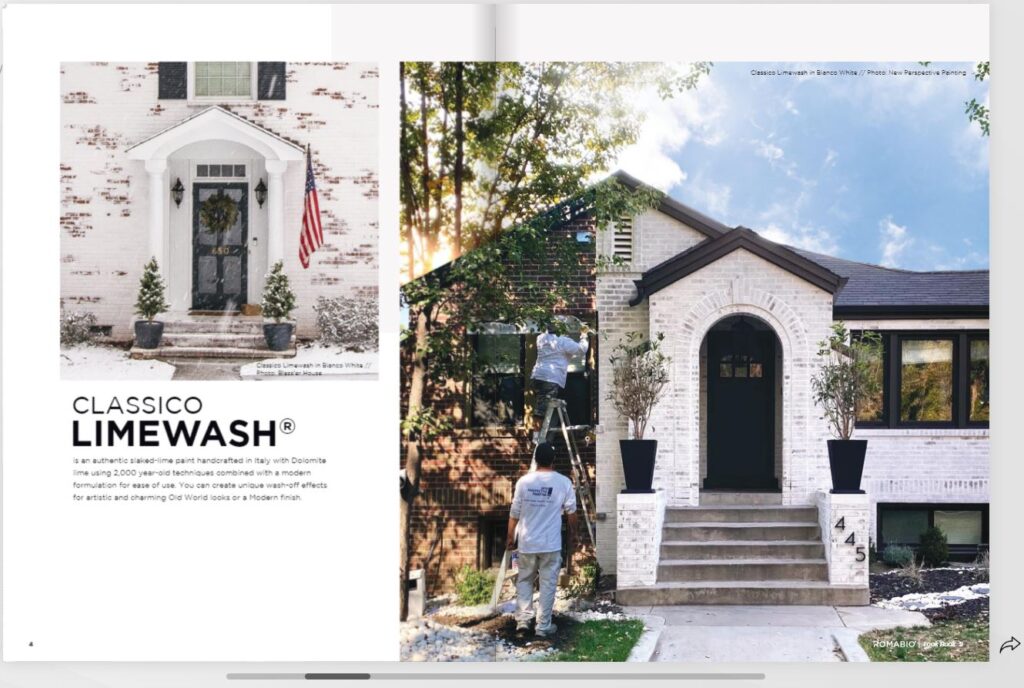
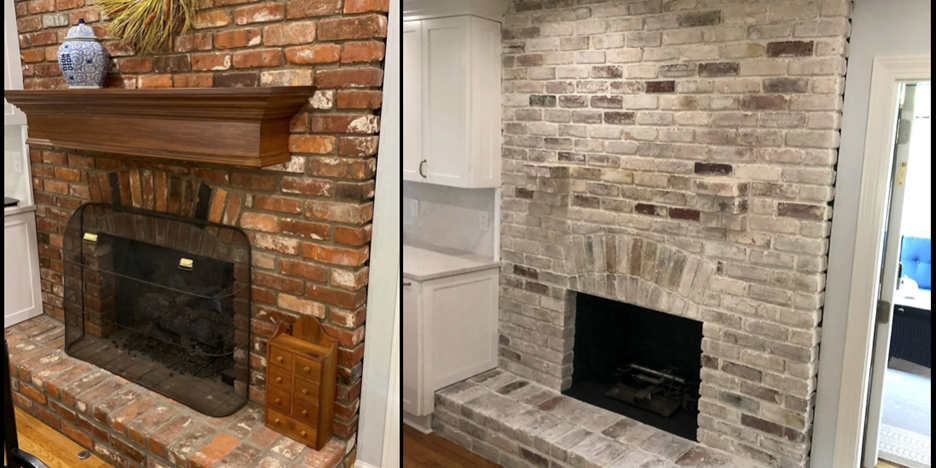
Interior lime wash is a traditional technique used to finish brick fireplaces or walls. Lime wash is made from slaked lime, which is a type of calcium hydroxide that has been mixed with water. The resulting paste is then mixed with pigments to create a range of colors. Lime wash has a number of benefits as a finish for brick fireplaces or walls, including:
- Breathability: Lime wash is a breathable finish, which means that it allows moisture to evaporate through the brick rather than trapping it inside. This can help to prevent mold and mildew growth.
- Low VOCs: Lime wash is a natural product that contains no volatile organic compounds (VOCs), making it a safer option for indoor use than traditional paint options.
- Durability: Lime wash is a durable finish that can last for many years, and it can be reapplied as needed.
- Flexibility: Lime wash can be applied to a range of surfaces, including brick, stone, and plaster.
- Aesthetics: Lime wash can be tinted with pigments to create a range of colors, allowing you to match the finish to your existing decor.
To apply lime wash to a brick fireplace or wall, you will need to clean the surface thoroughly, and apply a coat of limewash using a brush or roller. The number of coats needed will depend on the porosity of the substrate and the desired finish. Lime wash will dry quickly, and it’s important to work in small sections, so that the finish does not dry before you have a chance to smooth it out.
It’s important to note that Lime wash has to be applied on a surface that has been previously treated with a slaked lime putty, which is a paste made by mixing slaked lime with water. This will make the surface more porous and will make the lime wash stick better. Always keep the substrate surface wet while applying the lime wash.
What’s the process for applying lime wash?
The process for applying lime wash to a brick fireplace or wall involves several steps:
- Prepare the surface: Clean the surface thoroughly to remove any dust, dirt, or debris. If the surface is dirty or greasy, it may need to be cleaned with a mild detergent and water. If the surface is particularly porous, it may be necessary to apply a coat of slaked lime putty to create a more consistent base.
- Mix the lime wash: Mix the lime wash according to the manufacturer’s instructions. This typically involves mixing the lime powder with water, pigments (if desired), and any other additives. The consistency of the lime wash should be that of a thick paint or paste.
- Apply the first coat: Use a brush or roller to apply the first coat of lime wash to the surface. Work in small sections, making sure to keep a wet edge as you go. If necessary, smooth out the surface with a trowel or brush to create a smooth finish.
- Allow the first coat to dry: Lime wash dries quickly, typically within 30 minutes to 1 hour, depending on the humidity and temperature. It’s important to wait until the first coat is completely dry before applying a second coat, if desired.
- Apply a second coat: Apply a second coat of lime wash in the same way as the first coat. If necessary, you can apply additional coats to achieve the desired finish.
- Spray off as much of the lime wash finish you wish with a water spray bottle to achieve the patina look you desire.
- Allow the lime wash to cure: Lime wash takes several weeks to cure completely. During this time, it’s important to keep the surface dry and to avoid exposing it to heavy traffic.
It’s important to note that it’s possible to achieve different finishes with lime wash. It can be applied in thin layers for a more translucent finish or in thicker layers for a more opaque finish. The number of layers applied will also affect the final finish.
