A fresh coat of paint can completely transform a room, brighten up a space, and give your home a brand-new look. But before you grab that brush and can of paint, it’s crucial to prepare your walls properly. Proper wall preparation not only ensures your paint job lasts longer but also helps you achieve a smooth, flawless finish. Here’s your step-by-step guide to preparing your walls for painting in Lexington, KY.
Step 1: Gather Your Supplies
Before you begin, ensure you have all the necessary tools. Here’s a checklist to help you prepare:
- Drop cloths or plastic sheeting
- Painter’s tape
- Sandpaper or sanding blocks
- Spackle and caulk (and a caulk gun)
- Putty knife
- Cleaning supplies (mild detergent, sponge, bucket, or mop)
- Primer (if needed)
- Ladder (if needed)
- Paint brushes, roller handle, and roller pads
- Painting tray with liners or a painting bucket for rolling
- Finish paint in the color(s) and sheen(s) you choose
Step 2: Clear the Room
Remove furniture, curtains, and any other items that could be in the way. If it’s too heavy to move, cover it with drop cloths or plastic sheeting to protect it from paint splatters. Don’t forget to cover the floor with drop cloths as well to catch any drips or spills.
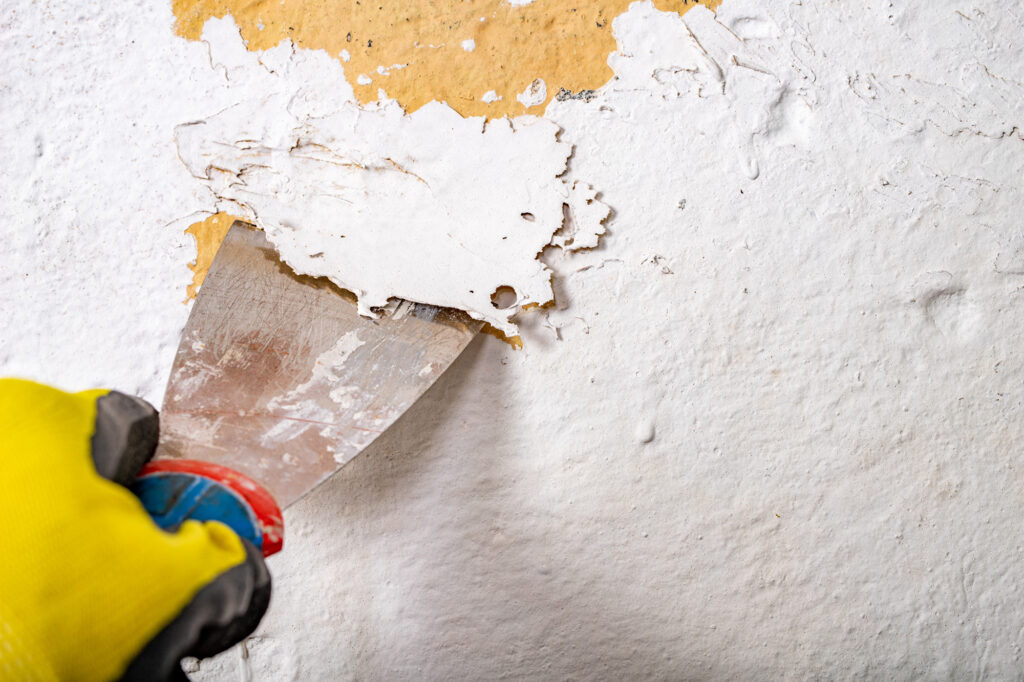
Step 3: Patch Holes and Cracks
Inspect your walls for any holes, cracks, or imperfections. You’ll need to patch these up to achieve a smooth surface. Use spackle or wall filler, applying it with a putty knife to fill in the holes. Allow the filler to dry completely before sanding the areas smooth. For larger holes, you might need to use a wall repair patch. You may need to caulk gaps between trim and walls.
Step 4: Sand the Walls
Once the patches are dry, lightly sand the entire wall surface to remove any bumps or rough spots. Sanding also helps the new paint adhere better. If you’re dealing with a particularly textured surface or old paint, consider using a sanding block or pole sander to make the process easier. Be sure to wipe down the walls afterward to remove all the dust.
Step 5: Clean the Walls
Even the best-prepared walls can suffer if there’s dirt, grease, or dust on the surface. Before you paint, clean the walls thoroughly using a sponge and mild detergent. This step is especially crucial in high-traffic areas, such as kitchens or bathrooms. Rinse the walls with clean water afterward to remove any soap residue.
Step 6: Apply Painter’s Tape
Now that the walls are prepped, it’s time to tape off areas you don’t want painted, such as baseboards, windows, and trim. Use high-quality painter’s tape to ensure clean lines. Press the tape firmly onto the edges to prevent any paint from seeping underneath.
Step 7: Prime the Walls (if needed)
If you’re painting over dark colors, stains, or raw drywall, it’s a good idea to apply a coat of primer. The right primer helps seal the surface and improves the paint’s adhesion, ensuring a longer-lasting finish. Select the appropriate primer for your surface: a stain-blocking primer for areas with existing stains, a high-hide primer when painting over dark colors, or a drywall primer for new walls.
Step 8: Start Painting
With your walls properly prepped, you’re ready to start painting! Begin by cutting in around the edges with a paintbrush, then use a roller to cover the larger areas. Be sure to apply the paint in thin, even coats. For the best results, use high-quality paint from Sherwin-Williams, like we do, and good tools. Allow each coat to dry thoroughly before applying a second one.

Ready to Transform Your Walls in Lexington?
Proper wall preparation is the key to achieving a professional-looking paint job that will last for years. At My Three Sons Professional Painting & Remodeling, we take pride in delivering exceptional results for every project, big or small. Whether you’re tackling a DIY project or want to leave the job to the experts, we’re here to help with your Lexington painting services.
Call us today at 859-321-7344 for a free estimate and let our skilled team guide you through every step of the painting process. Or schedule your own appointment online by clicking here.
Ready to get started? Let’s transform your Lexington, KY home!
Click here to learn more about the various residential services we offer.